Using Jupyter Notebooks to run jobs on SpiNNaker
This document describes how to access and use Jupyter notebooks to run PyNN scripts and access the HBP/EBRAINS Neurorobotics Platform on SpiNNaker machines. It is based on the presentation at: https://docs.google.com/presentation/d/15XWZL-aAIJlN-Ixa_uJuEjxjqnn3yvarXBkWiHcWv_E/edit#slide=id.g607786f23b_0_0
Contents
- Getting Started
- Running a PyNN script using a Jupyter Notebook / Lab
- Using the Neurorobotics Platform (NRP) with Jupyter
Getting Started
This section describes the current state of the SpiNNaker machine and the software stack’s limitations.
SpiNNaker Machine
Before starting to run PyNN scripts on SpiNNaker machines via Jupyter, be aware that the total SpiNNaker machine capacity is a 10 cabinet machine, comprising 1,036,800 cores.
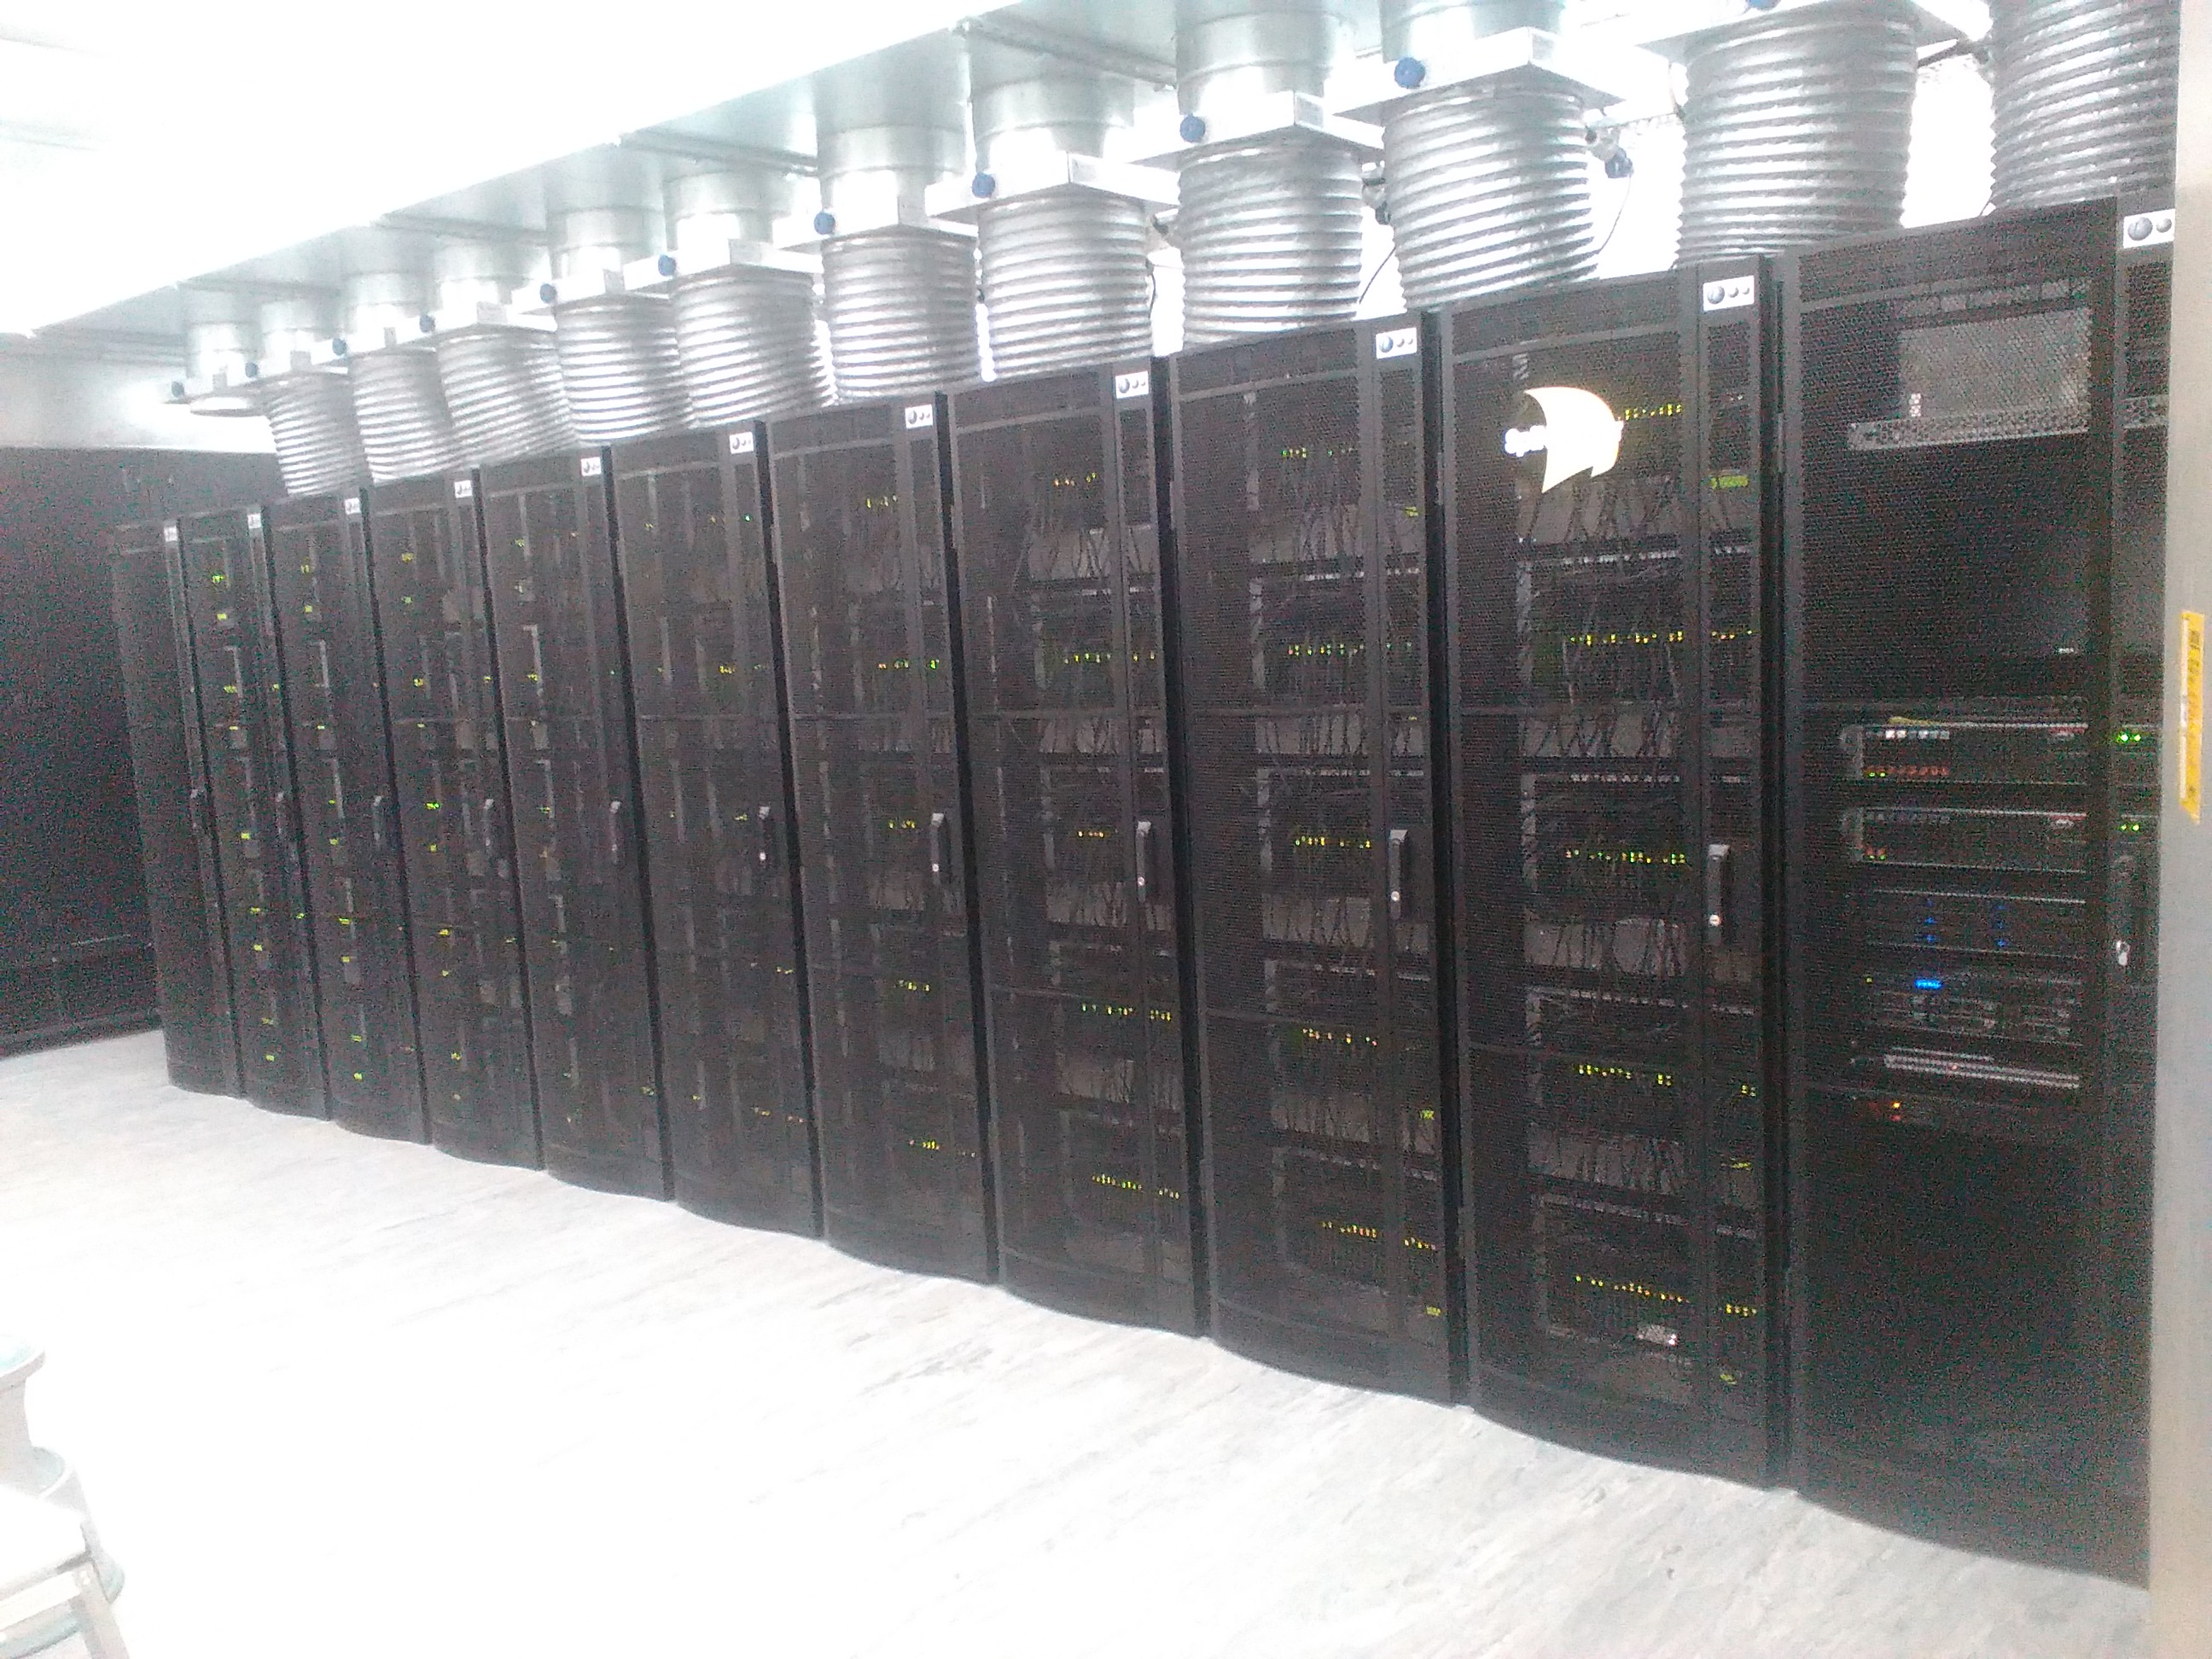
A 10 cabinet machine, wired together (Note: the 11th cabinet in the picture contains servers for handling jobs sent to the machine).
Software Limitations
To understand how this relates to a PyNN script, be aware that SpiNNaker stores all the data needed to execute a PyNN model within its on-board memory (SDRAM). This SDRAM is limited in size, as each SpiNNaker chip contains only 128MB of memory, split dynamically between the 18 cores (including the operating system core) that reside on the chip. On average, every core has available approximately 8MB to store the neuron parameters as well as the synaptic matrix of the atoms it is executing. Most models, to date, are limited to 256 atoms per core, and therefore the connectivity between these 256 atoms and the rest of the simulation must fit within these constraints.
Due to these limitations, the maximum possible number of atoms that can be simulated by a PyNN script on the largest SpiNNaker machine available is 250,675,200. This sounds rather large, but when it is factored in that each atom can only have a maximum incoming fixed number of connections of 8000, and that any more than this will result in a smaller number of neurons per core; therefore a smaller total neurons being simulated.
To make matters worse, currently, if a PyNN Projection between two Populations has delays greater than 16 machine time steps then each core that simulates these neurons will have a delay model attached to it, which in practice reduces the maximum number of simulated neurons by half.
Finally, if the PyNN model includes plastic connections, these require more memory than fixed connections and therefore will further reduce the number of neurons per core.
Script Limitations
This section describes some basic limitations that the PyNN script can experience when running using Jupyter: A PyNN script running on the SpiNNaker backend needs to adhere to the subset of PyNN that is supported by sPyNNaker, a list of what is not implemented can be found here: https://spinnakermanchester.github.io/latest/spynnaker_limitations.html
Updating to the Lastest Version
We always recommend user use the lastest versions of the Spynnaker software
These steps are for anyone using the preinstalled Spynnaker software. Anyone using git versions should follow standard git update methods.
- pip install –upgrade pip
- always a good idea before using pip
- pip install –upgrade numpy
- many be needed depending on how old the current numpy is
- pip install –upgrade sPyNNaker
- Will automatically install the spinnaker dependecies too
Please clean up the reports folder found at $HOME/reports Delete all directories you don’t need.
Run a small script.
If you see an error referencing spynnaker8
from spynnaker.pyNN.setup_pynn import setup_pynn
setup_pynn()
If you get a Java error
- No jar file at xyz/spinnaker-exe.jar
- subprocess.CalledProcessError: Command ‘[‘java’, ‘-jar’, ‘xyz/spinnaker-exe.jar’
Where xyz is some path likely ending with /SpiNNaker-front-end/target/
- cd into the directory
- delete any existing spinnaker-exe.jar file
- copy in the spinnaker-exe.jar from the latest JavaSpinnaker release (may be higher than 7.3.0)
- Find latest release
- wget https://github.com/SpiNNakerManchester/JavaSpiNNaker/releases/download/7.3.0/spinnaker-exe.jar
update the cfg file
nano ~/.spynnaker.cfg
Add these cfg settings as needed (Remember there can only be one of each section)
[Machine]
version=5

[Mode]
mode=Production
For alternative values to mode as well as individual cfg flags you can set to turn on reports see: cfg_file
Running a PyNN script using a Jupyter Notebook / Lab
This section describes how an end user starts a PyNN simulation using a Jupyter Notebook.
First of all, access the Jupyter Notebook login at https://spinn-20.cs.man.ac.uk, or alternatively add the “SpiNNaker Jupyter” Community App to an EBRAINS collab (see https://spinnakermanchester.github.io/latest/ebrains_portal.html for more details on setting this up) and access it in a similar manner from there.

Logging in
You can log in using your EBRAINS credentials (these can be obtained by following the instructions at https://ebrains.eu/register). Once you have logged in, you can choose between the Jupyter Notebook interface, and the Jupyter Lab interface.
Start your server

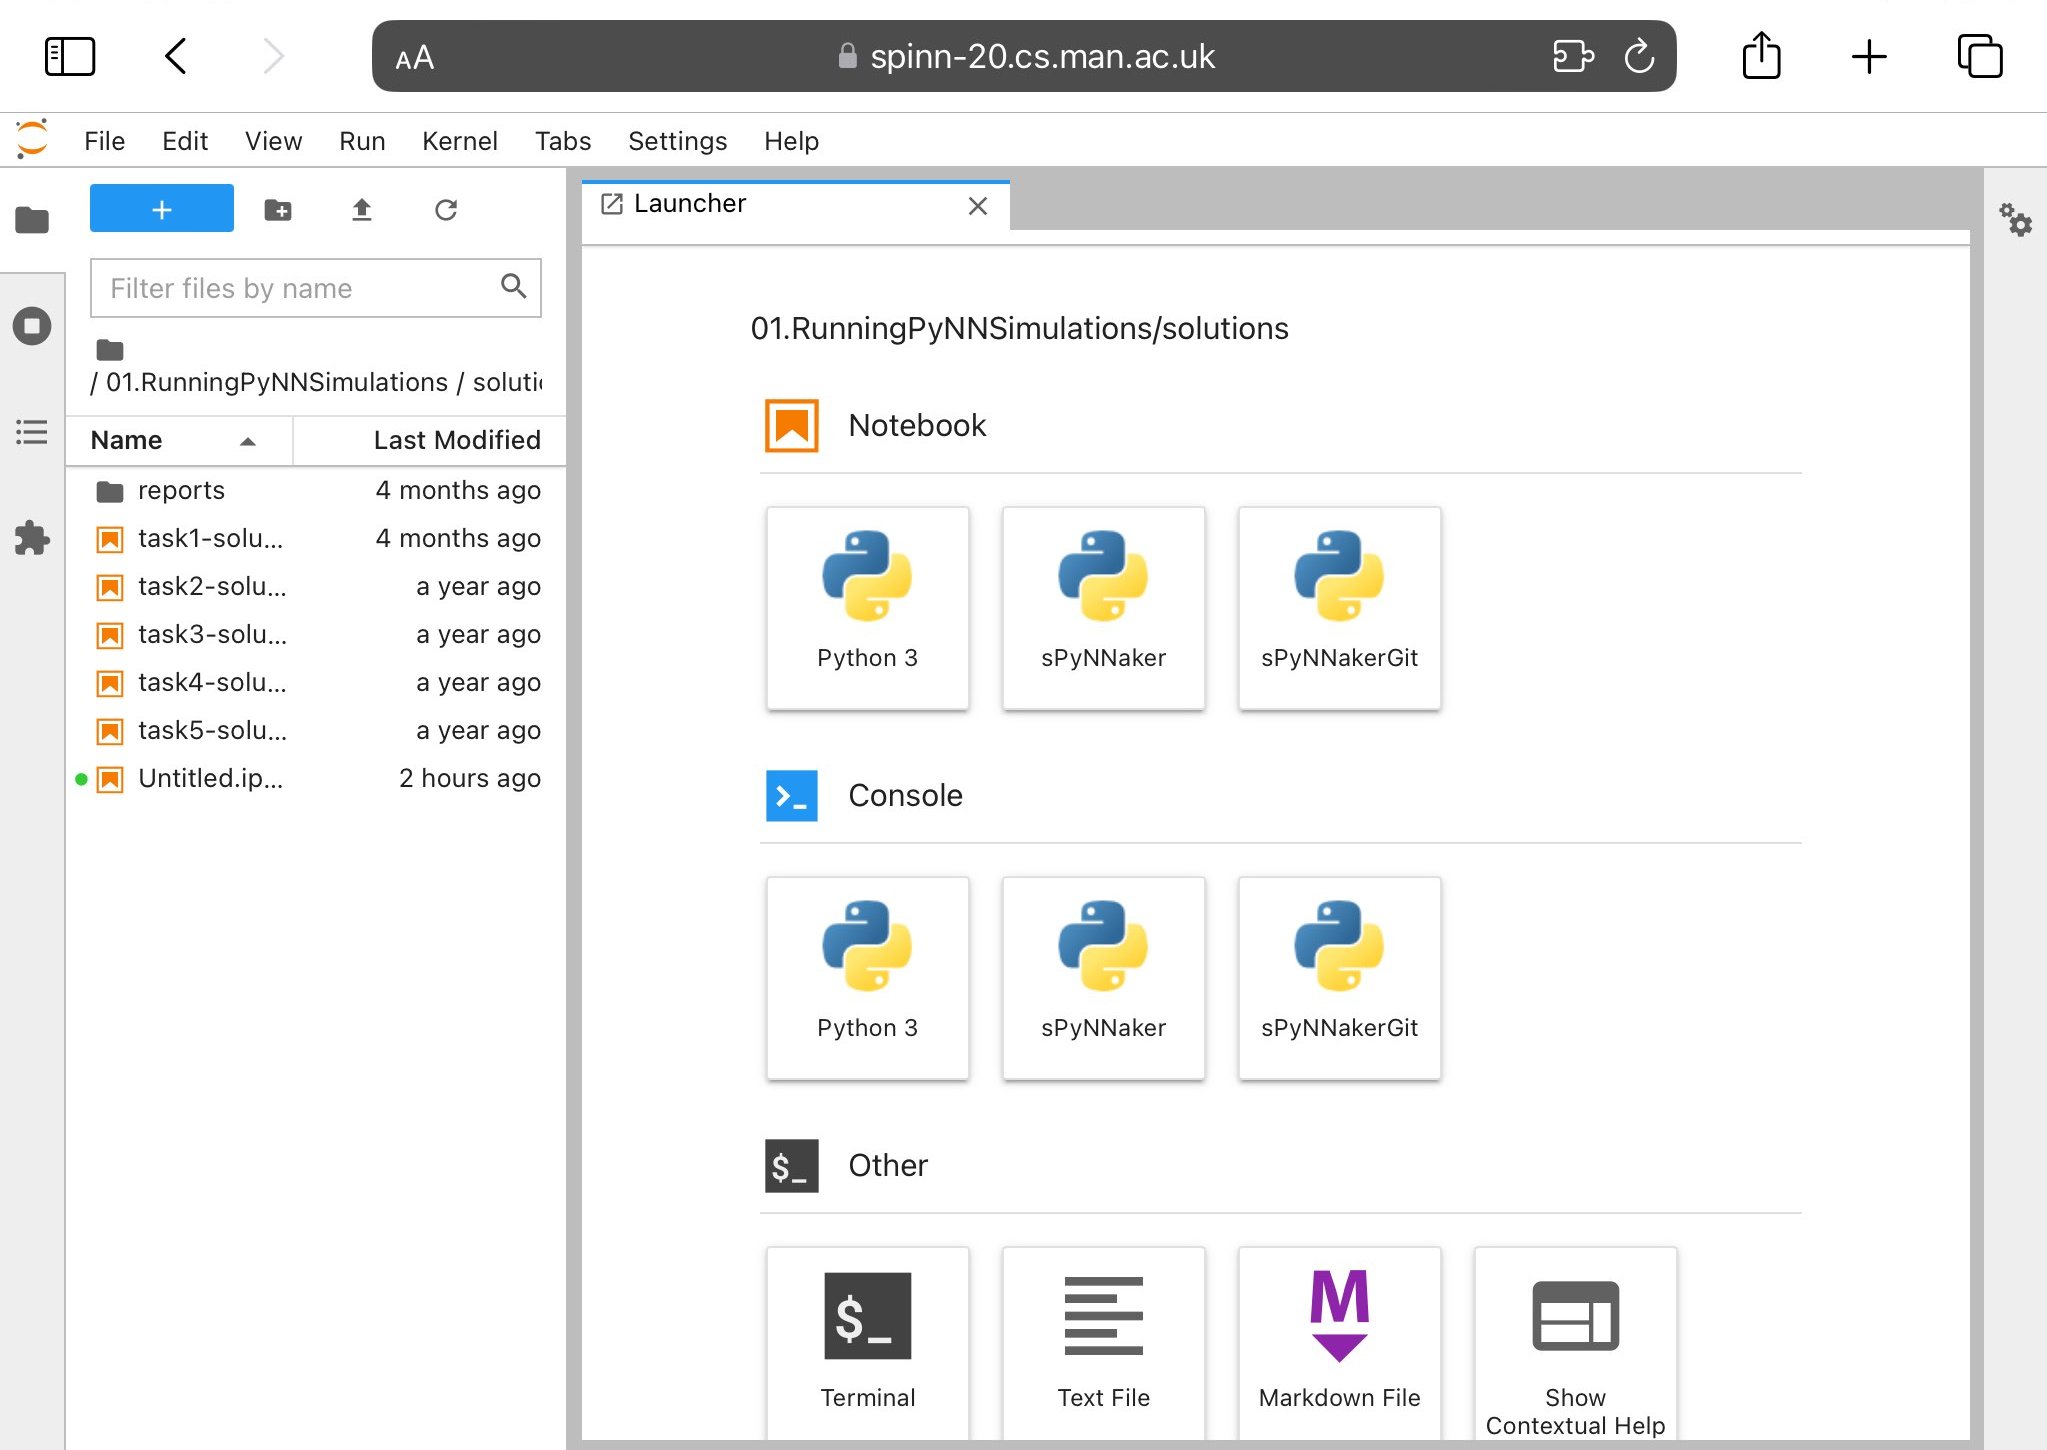
Which will give you a start menu looking like.
Using a pre-prepared notebook
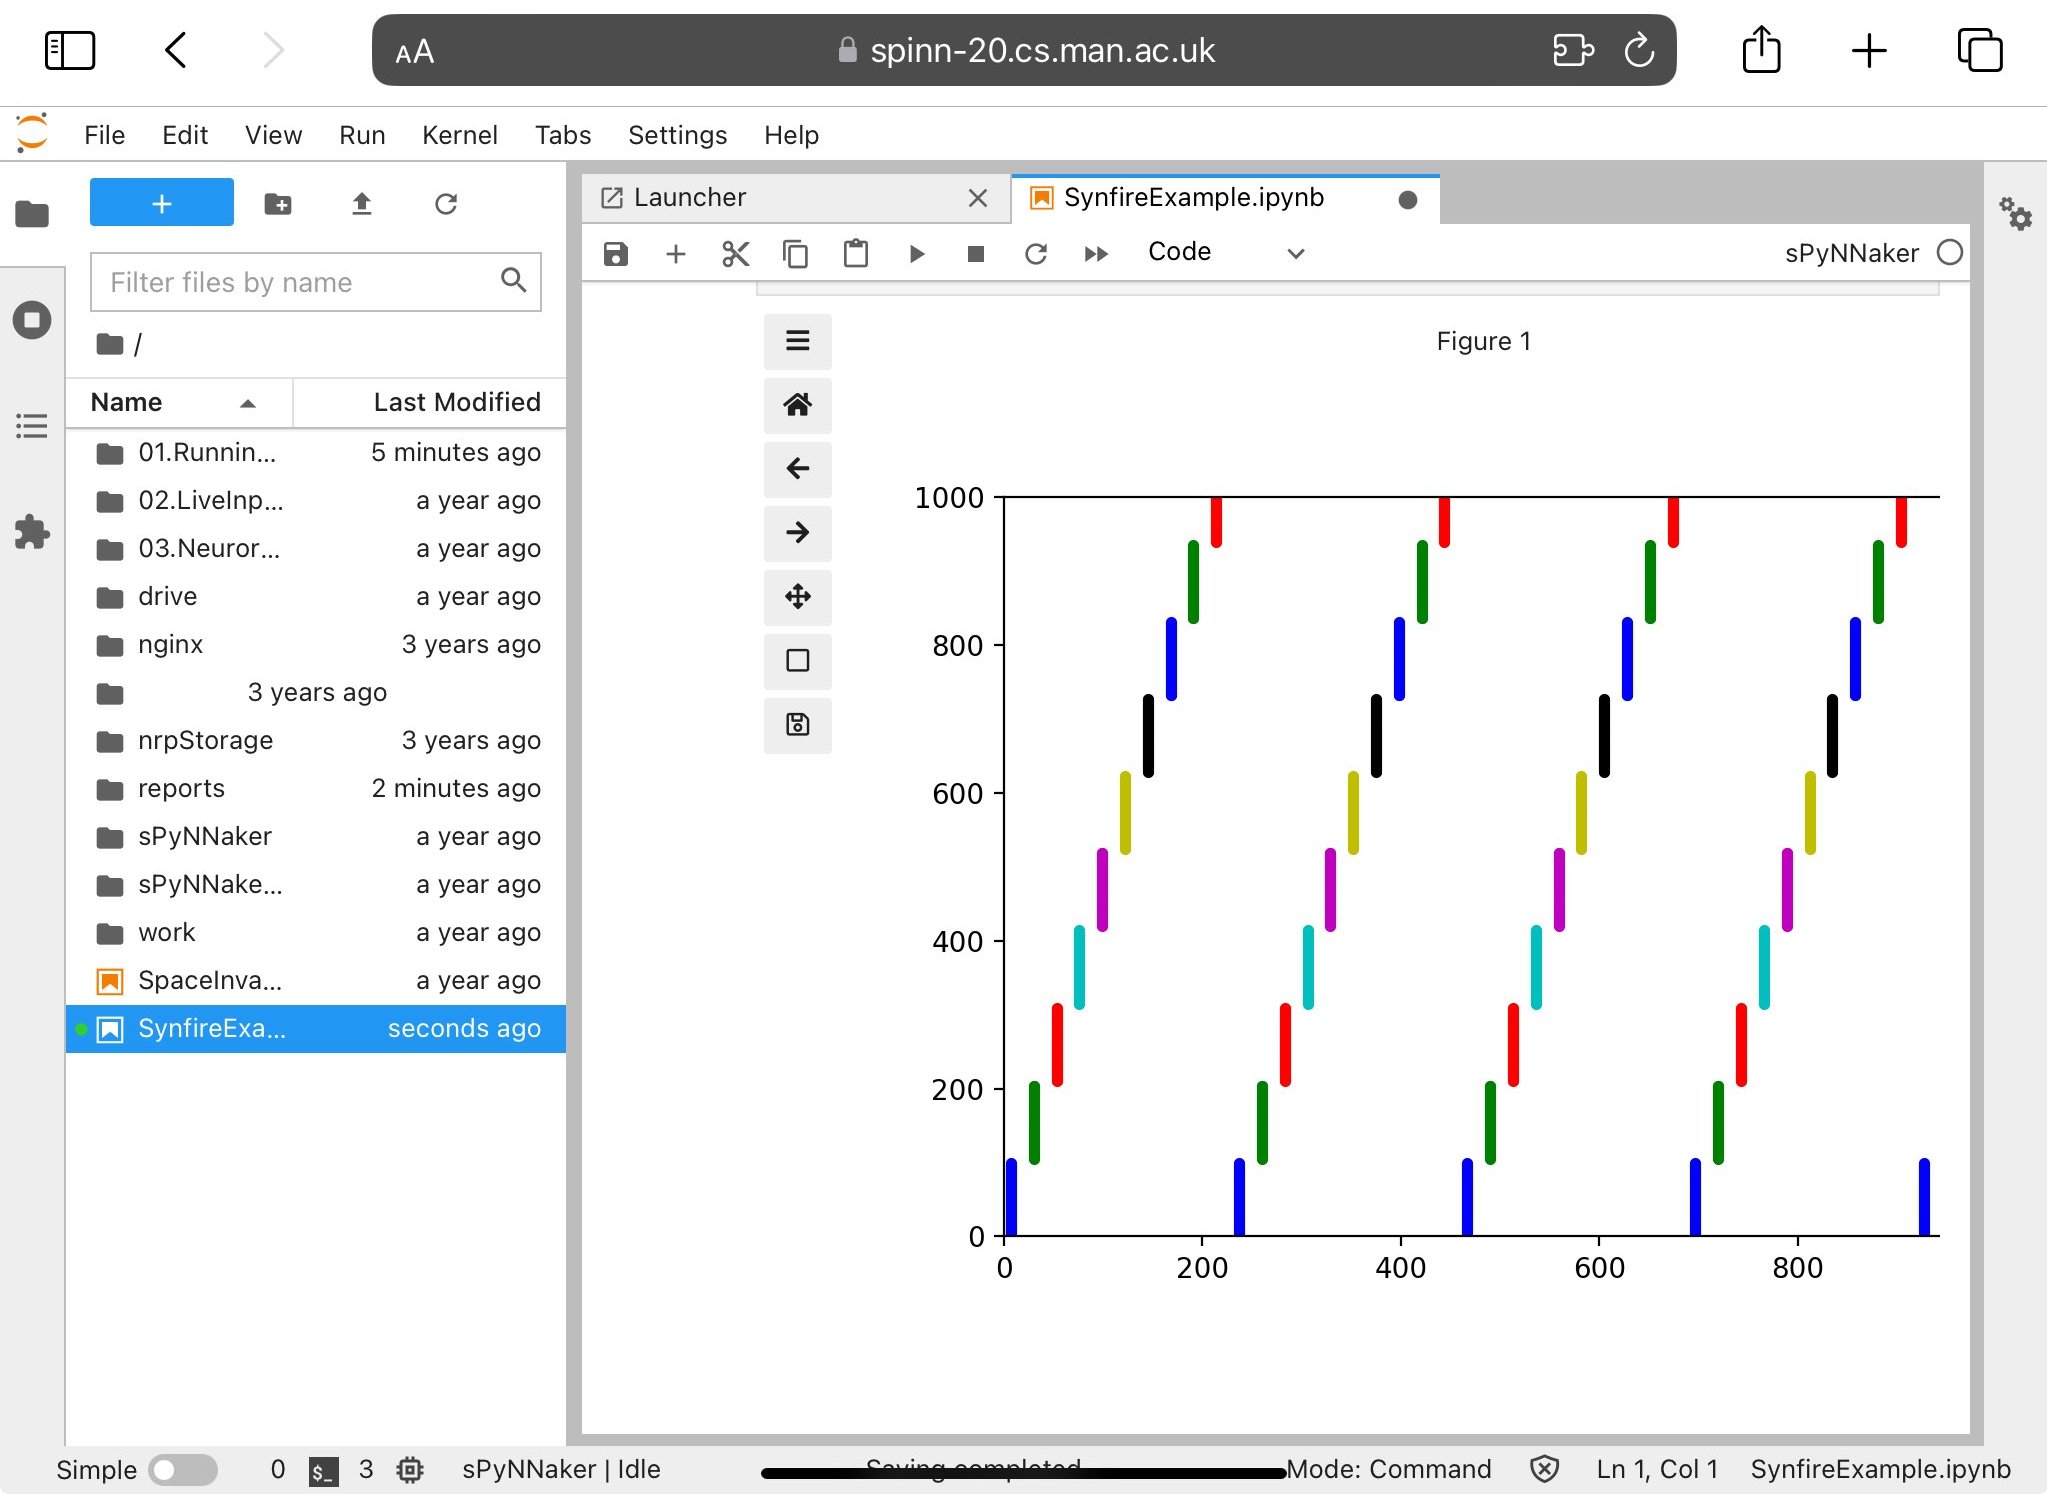
A pre-prepared synfire chain example is available.
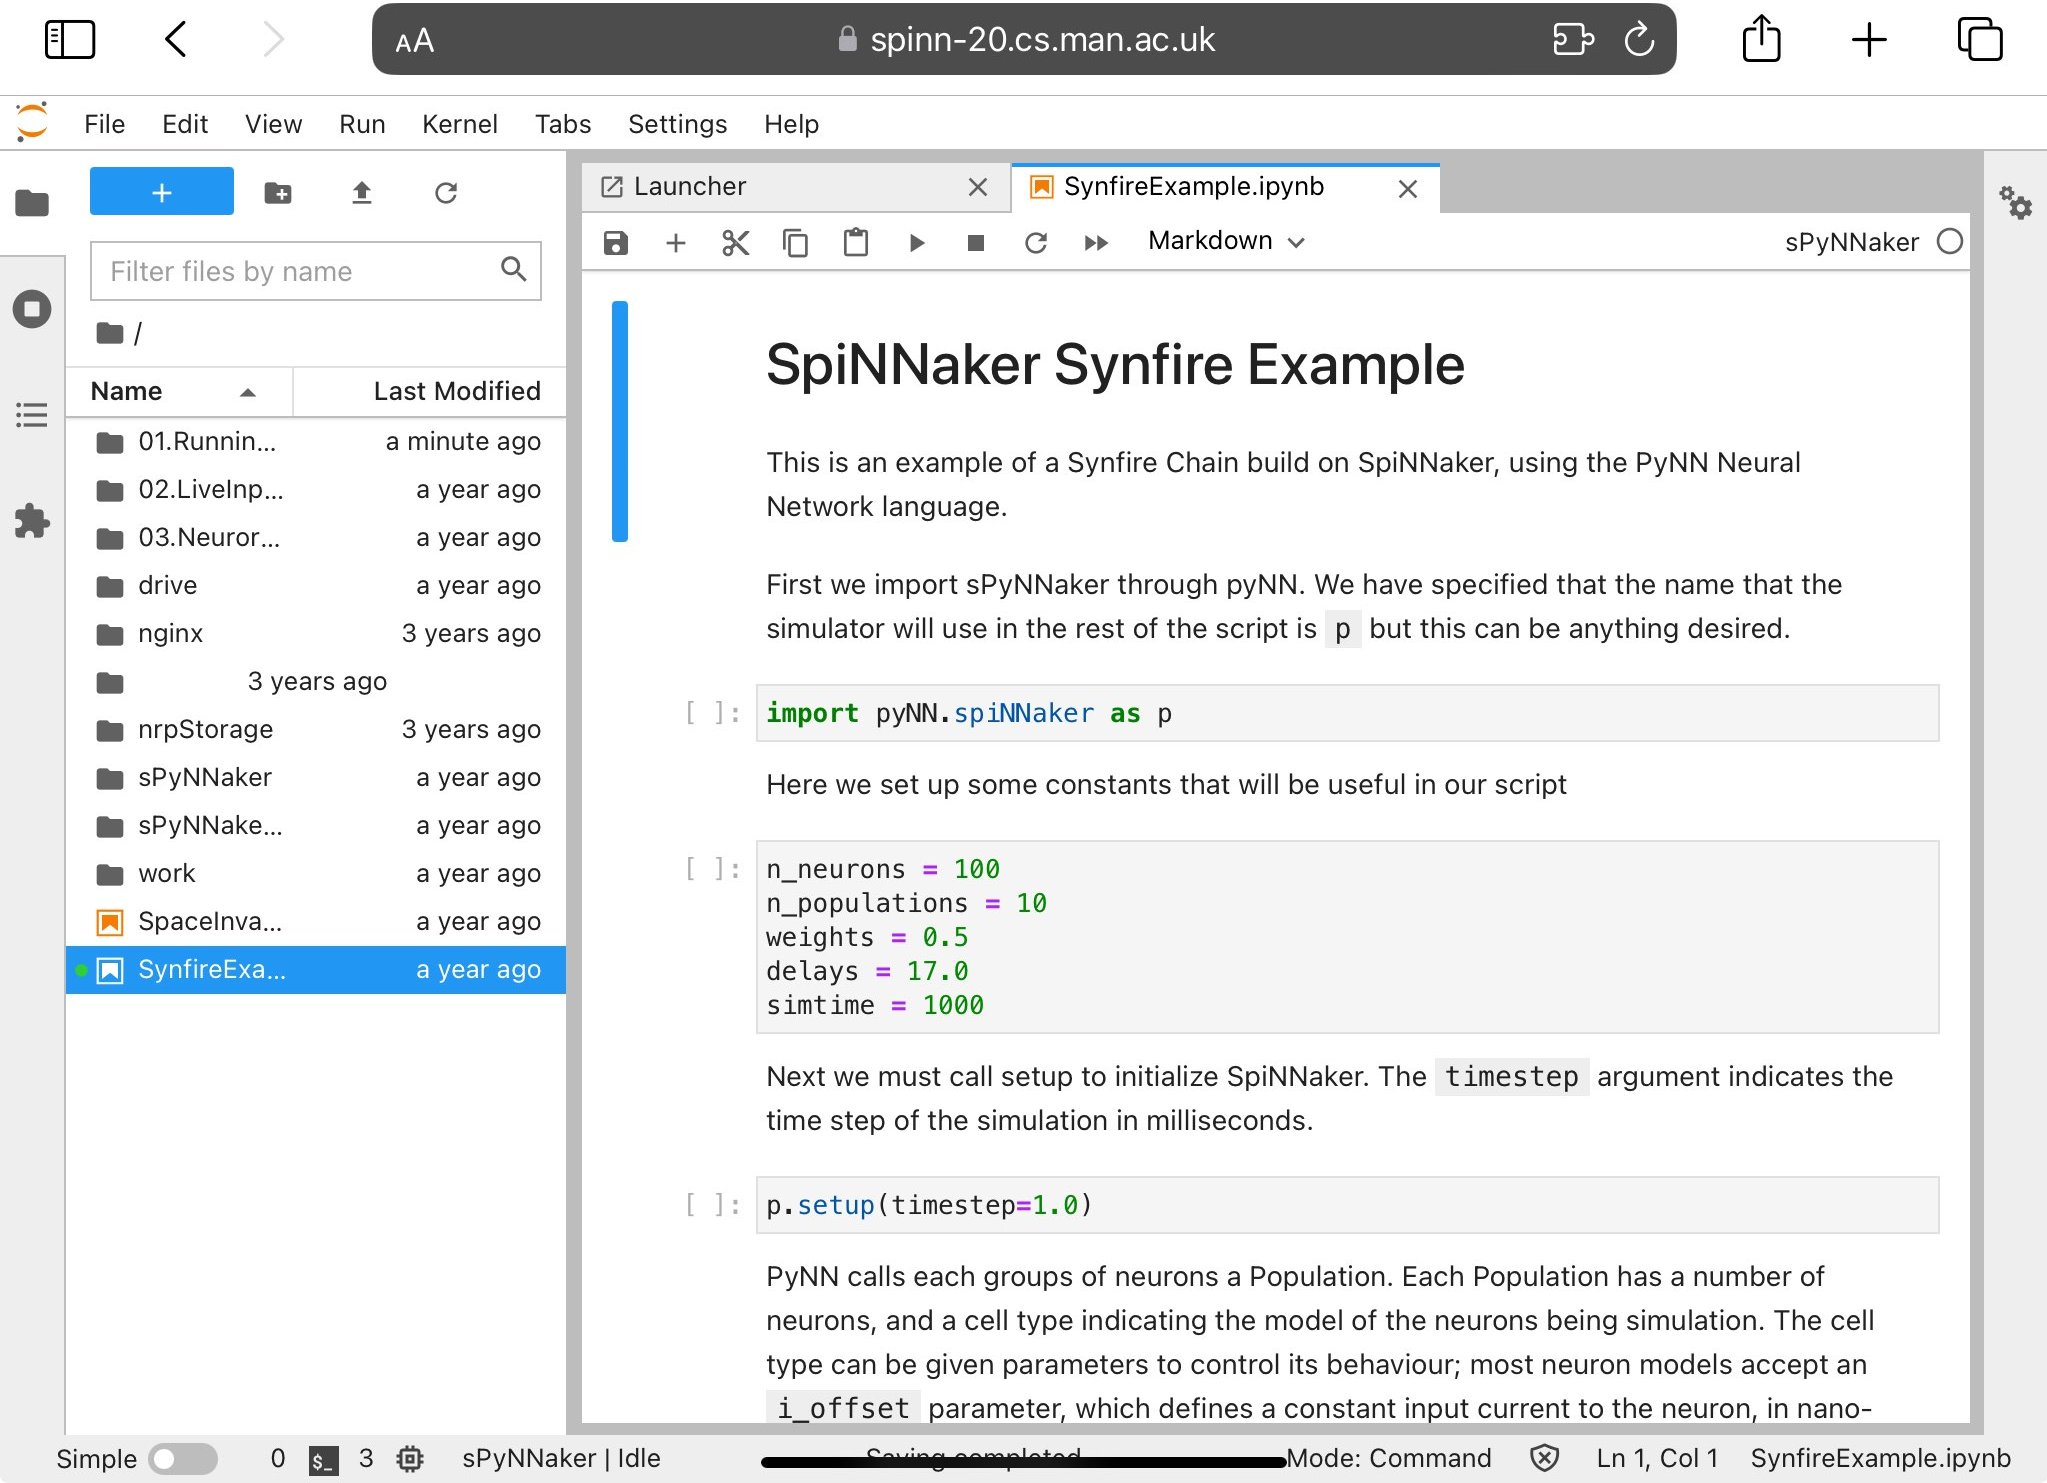
This can be run through in the usual manner for a Jupyter notebook via the control buttons at the top of the page. Be aware that running commands out of order may cause unexpected results; for example, performing run(…) before setup(…) will lead to an error. Running this particular example should give you the output shown in Figure 4.
Running your own script
It is possible to create your own notebook and run PyNN scripts from within it. The simplest way to do this is in the Notebook interface is to click the dropdown “New” menu, and under Notebook select “sPyNNaker”. This will give you an input box as in Figure 5 into which you can paste a PyNN script; then clicking e.g. “Run” will run this script.
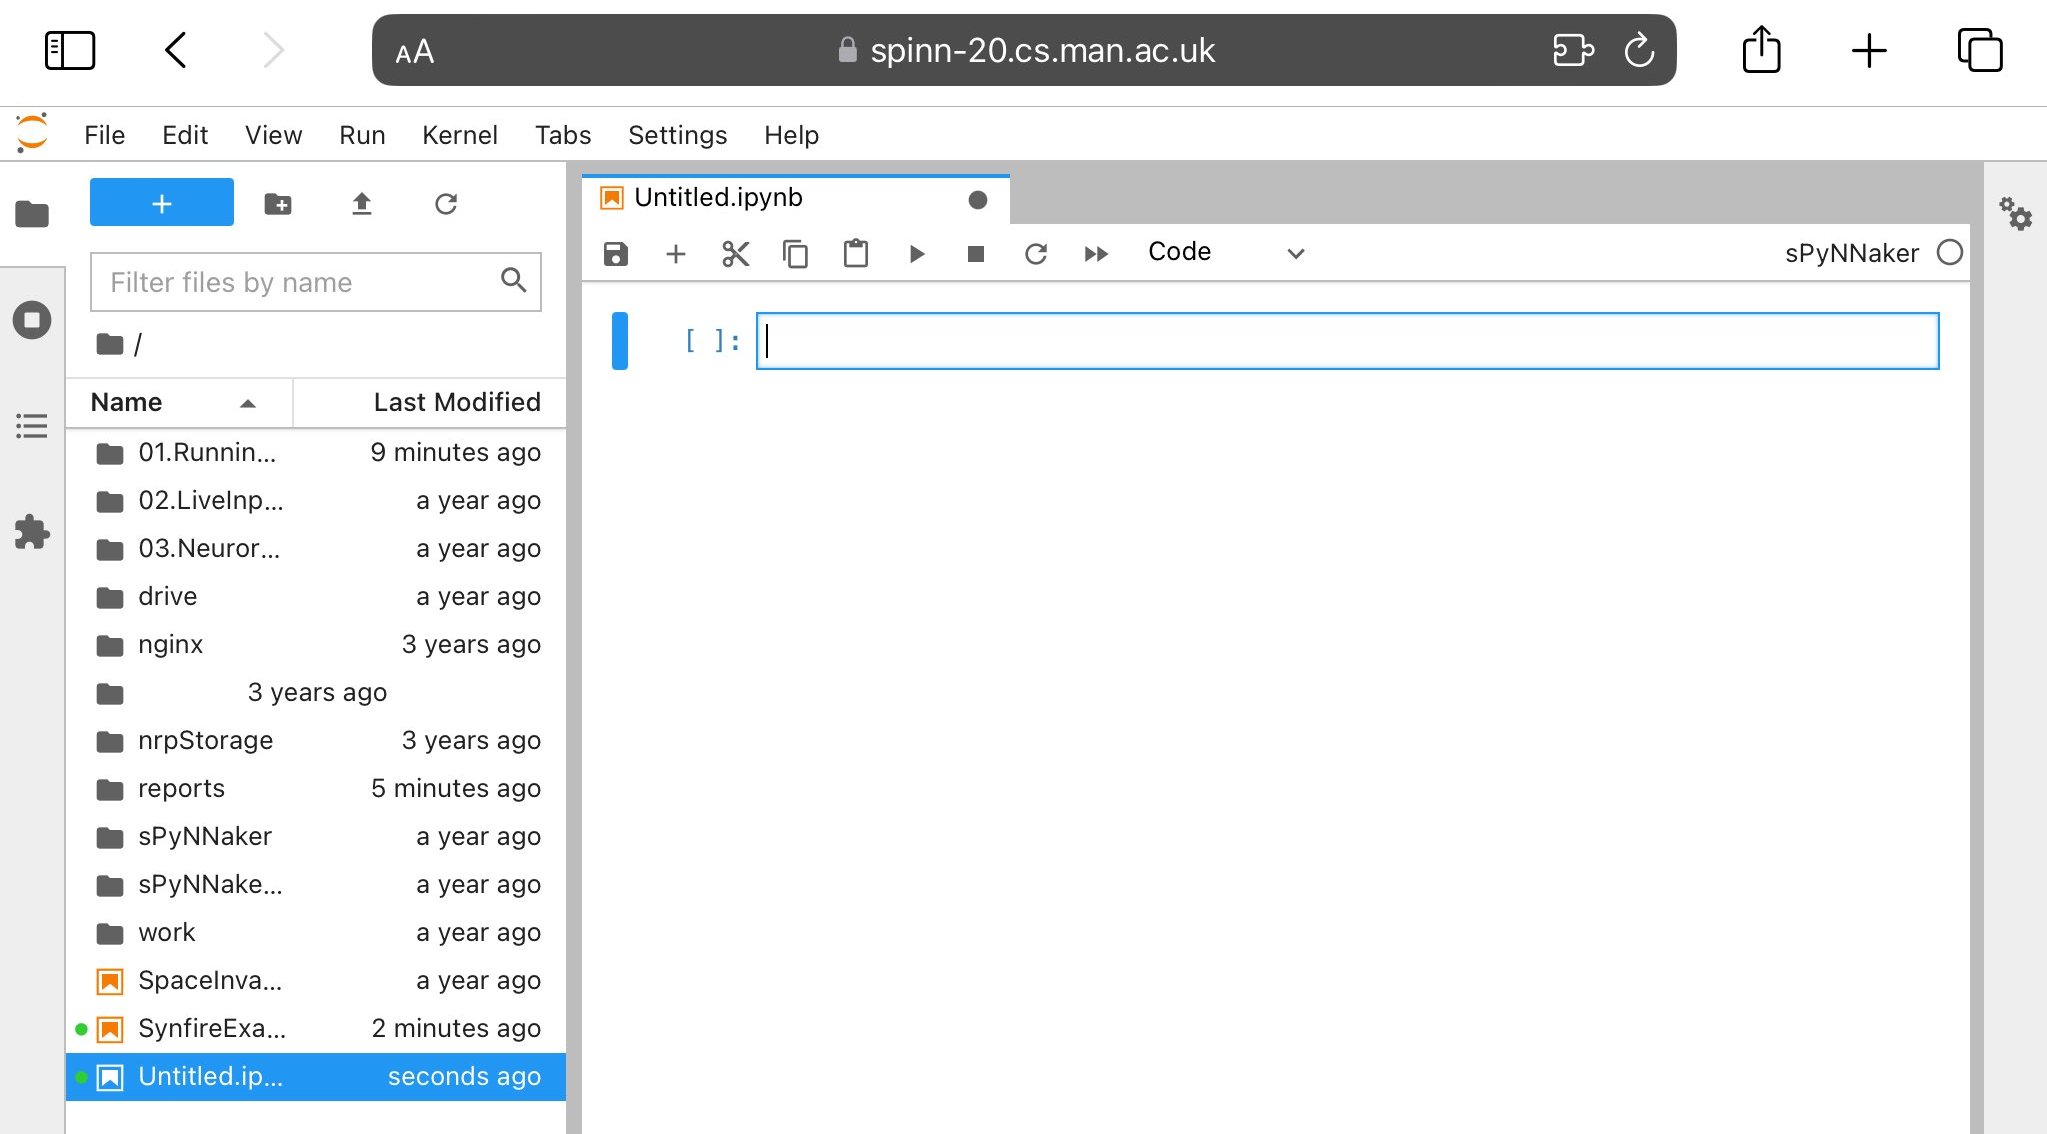
You can choose from the kernels “sPyNNaker” (latest release) or “sPyNNakerGit” (the instantiation of the master branches of the GitHub libraries downloaded when your account was created). In the Lab interface, use the “Launcher” tab that was open when you first logged in (or, if you have closed the tab, it can be opened again using File - New Launcher) to select a Notebook using a particular kernel.
Be aware when using sPyNNakerGit that what you will be using are the master branches at the point at which you first logged in to the system, and that these will not change when you next log in; if you require any changes that have subsequently been made to master or new branches then you will need to manually get these yourself. This can be done from within the Notebook interface by clicking on the drop down menu “New” and selecting “Terminal”, or from the Lab interface by selecting Terminal from the Launcher tab, and then using the usual git commands from the command line within the “sPyNNakerGit” directory. You will need to be in the sPyNNakerGit environment when updating; to get into the environment, go into the sPyNNakerGit directory
cd sPyNNakerGit
and then use the command
source bin/activate
There are some automatic scripts provided to help you with this inside the sPyNNakerGit/support directory; in particular support/gitupdate.sh.
If you update master or switch branches, we also strongly recommend rebuilding the C code that runs on the SpiNNaker machine using the script support/automatic_make.sh as it is likely that this will have changed during a recent update. It is also possible to change the kernel once you have started by choosing Kernel->Change kernel (in both the Notebook and Lab interfaces) and selecting what you wish to change to.
Within a notebook/lab it is possible to perform all the usual Python commands, including the ability to use “pip” to install anything that is not installed by default for SpiNNTools (see http://spinnakermanchester.github.io/latest/devenv.html#PythonRequirements for a non-exhaustive list of these). It is also possible to use pip etc. inside a Terminal window to install anything you need; simply make sure you are in the correct environment for the Kernel you wish to install something for and it should be possible to install it.
Closing notebooks and logging out
When you are finished, we request that you close any open notebooks (File->Close and Halt), and then logout using the button in the top right of the screen (see Figure 6).
!Log Out](logout.jpeg)
Using the Neurorobotics Platform (NRP) with Jupyter
It is also possible to run virtual robotic experiments within the Jupyter framework. To set this up you need to use the username and password you set earlier, and a few further steps.
Setting up
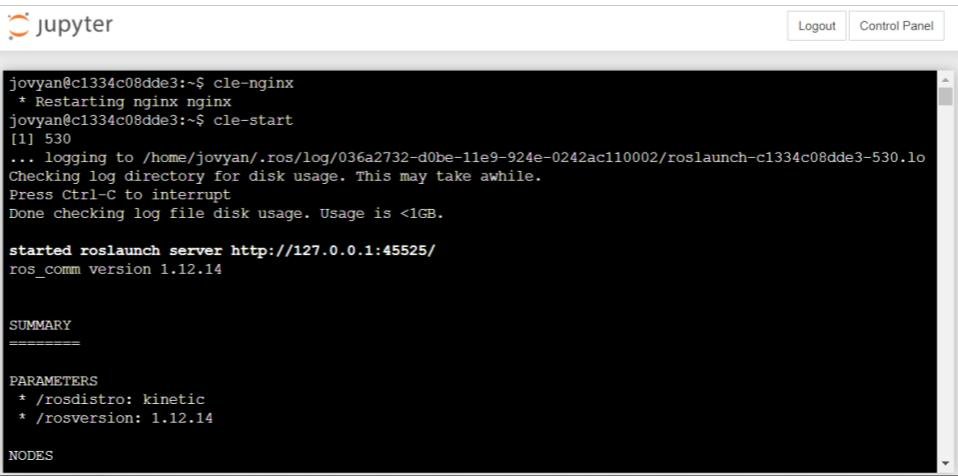
Once you are logged in to the Jupyter system, create a new terminal and type in the command “cle-nginx”, and then “cle-start”. This will start up the NRP system in the background.
Once you have done this, you can then log into the NRP system by going to the web address https://spinn-20.cs.man.ac.uk/user/
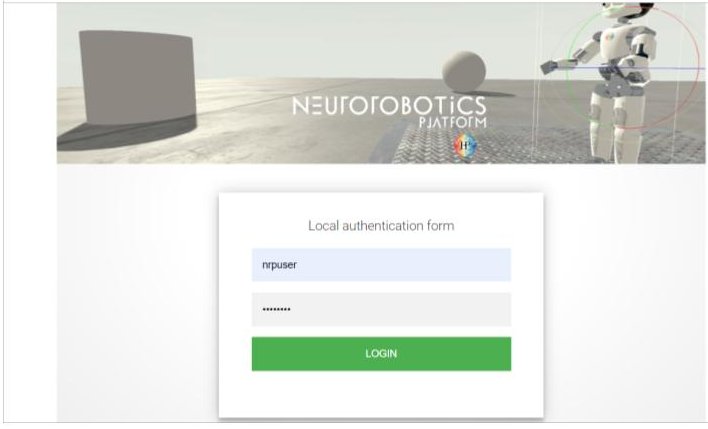 On this screen, log in using the username “nrpuser” and the password “password”. This should ask you to accept the NRP’s terms of service,
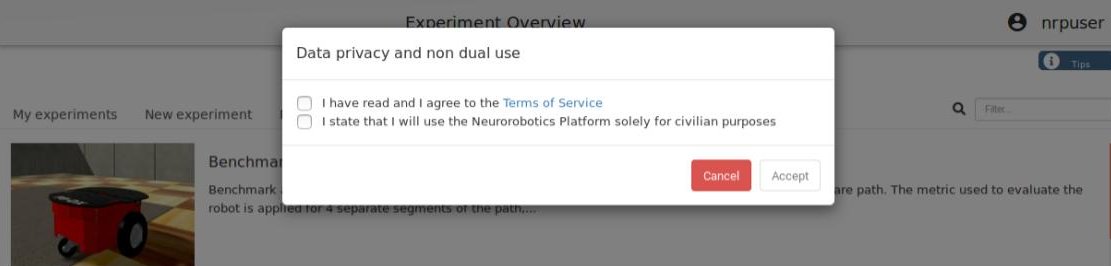 and then show you a list of experiment templates.
Running a job
From this list of experiment templates, the only SpiNNaker experiment you can clone so far is “Holodeck Husky Braitenberg experiment on SpiNNaker”; select this, click on “Clone” and this will add it to your “My Experiments” tab. On this screen, click on the “+ Launch” button and this will load the experiment environment in your browser window. Once it is loaded, click on the Play button; after a minute or so, the robot should start turning. (At this point it is loading the relevant data onto the SpiNNaker machine - if you switch back to the terminal window where you launched the NRP system, you should see the loading logging information). In this particular experiment, the robot turns to the left until it sees a red screen; you can right click on the screens and select a new colour.
For more details on how to use the Neurorobotics Platform, follow any of the help links once you have logged in to the system.